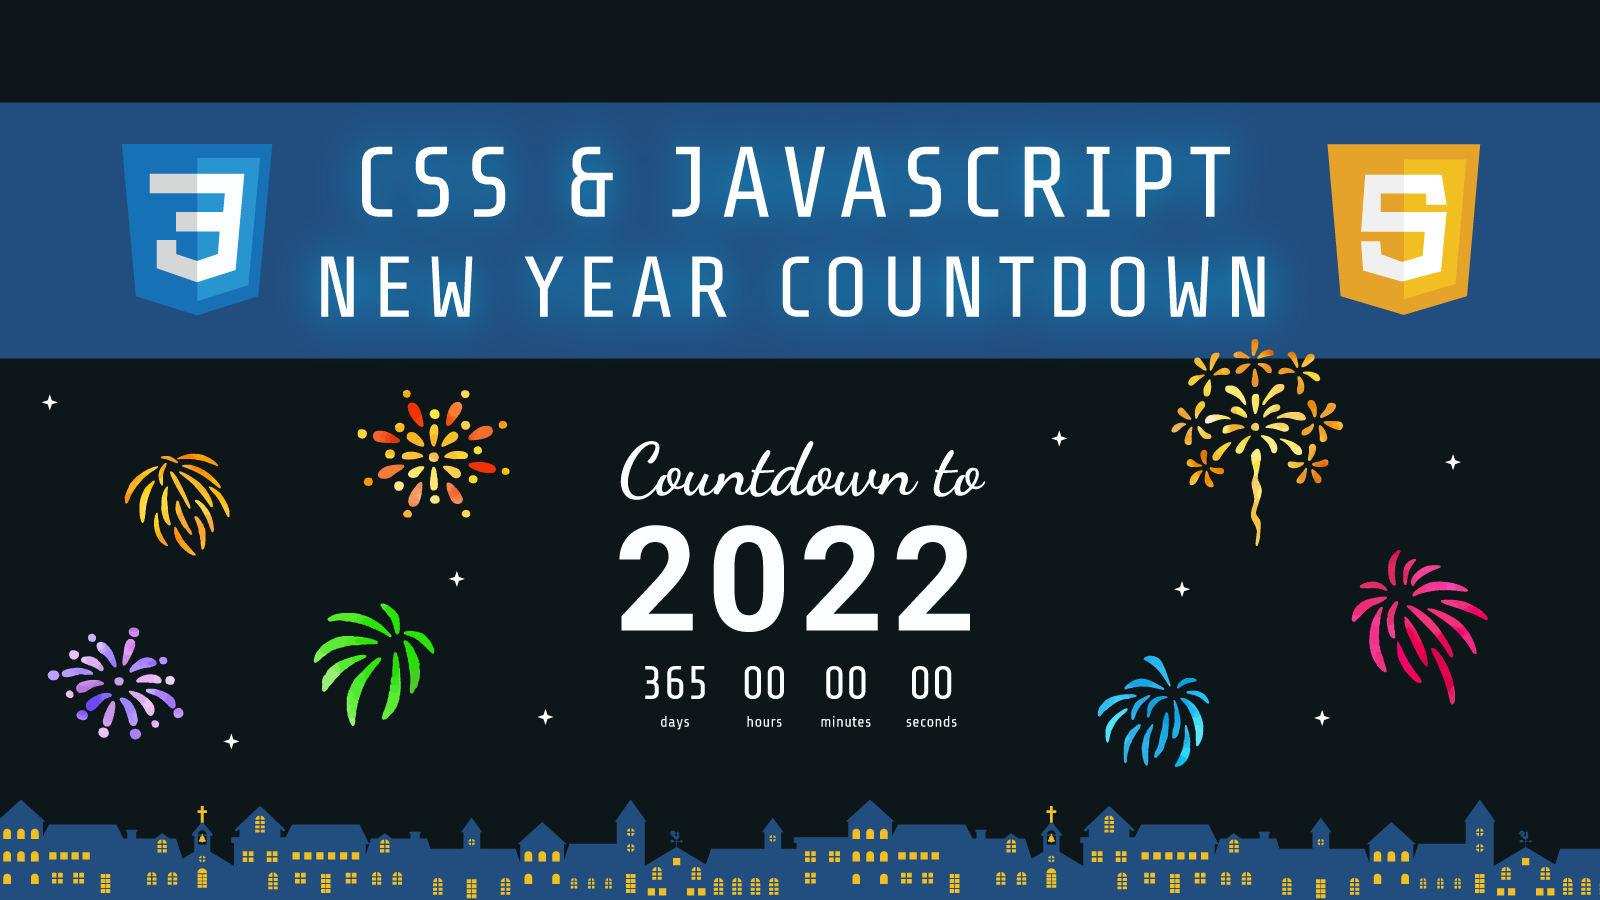
今回はCSSとJavaScriptを使って、現在から新年までの時間をカウントダウンするタイマーを実装する方法を紹介します。
次の年まであと何日あるかがひと目で分かるので、便利な機能ですね。
機能の実装にはJavaScriptを使用するので、
- Dateオブジェクトの使い方
- setIntervalの使い方
作っていくうちにこれらの理解が深まるかと思います。
JavaScript初心者の方でも理解できる内容だと思いますので、ぜひ参考にしてみてください。
新年カウントダウンタイマーのDEMOページ

まずは、実装内容の確認をするためにDEMOページをご覧ください。
簡単に機能の説明をすると、
- 現在の日付から新年の1月1日0時0分までの時間を表示
- 1秒毎にカウントダウンする
- カウントダウンが終了すると自動的にその次の年へのカウントダウンが始まる
という仕様になっています。
実装内容が確認できたら、次は実装コードを見ていきましょう。
【コピペ用】新年カウントダウンタイマーの全体コード
以下がすべての実装コードです。
index.html style.css countdown.jsを作成し、それぞれのコードをコピペしてお使いください。
また、DEMOに使用している背景画像は、こちらのリンクからダウンロード可能ですので、同じ画像を使用したい場合はどうぞ。
<!DOCTYPE html>
<html lang="ja">
<head>
  <meta charset="UTF-8">
  <meta name="viewport" content="width=device-width, initial-scale=1.0">
  <title>新年カウントダウンタイマー</title>
  <link rel="stylesheet" href="style.css">
</head>
<body>

  <div class="container">
    <div class="countdown">
      <h1 class="countdown-title">Countdown to
        <span id="year" class="new-year"></span>
      </h1>
      <div class="time-container">
        <p class="time"><span id="days" class="time-num"></span>days</p>
        <p class="time"><span id="hours" class="time-num"></span>hours</p>
        <p class="time"><span id="minutes" class="time-num"></span>minutes</p>
        <p class="time"><span id="seconds" class="time-num"></span>seconds</p>
      </div>
    </div>
  </div>

  <script src="countdown.js"></script>
</body>
</html>
/* Google Fonts 読み込み */
@import url('https://fonts.googleapis.com/css2?family=Dancing+Script:wght@700&family=Roboto:wght@700&family=Share+Tech+Mono&display=swap');

/* リセットCSS(簡易版) */
*, *::before, *::after {
  padding: 0;
  margin: 0;
}

/* 全体を囲うコンテナー&背景 */
.container {
  position: relative;
  background-image: url('bg.jpg');
  background-repeat: no-repeat;
  background-size: cover;
  background-position: center center;
  width: 100%;
  min-height: 100vh;
  display: flex;
  align-items: center;
  justify-content: center;
}

/* 背景画像と文字を区別させるためのオーバーレイ */
.countainer::before {
  content: '';
  position: absolute;
  top: 0;
  left: 0;
  width: 100%;
  height: 100%;
  background-color: rgba(0, 0, 0, 0.3);
}

/* カウントダウンタイマー本体 */
.countdown {
  position: relative;
  color: #fff;
  text-align: center;
}

/* タイトル */
.countdown-title {
  font-family: 'Dancing Script', cursive;
  font-size: 100px;
  line-height: 1.2;
}

/* 年のテキスト */
.new-year {
  display: block;
  font-family: 'Roboto', sans-serif;
  font-size: 200px;
  font-weight: bold;
  letter-spacing: 0.05em;
}

/* タイマー部分を囲うコンテナー */
.time-container {
  display: flex;
  justify-content: center;
  margin-top: 20px;
}

/* hours, minutes, secondsの共通スタイル */
.time {
  font-family: 'Share Tech Mono', monospace;
  display: flex;
  flex-direction: column;
  align-items: center;
  justify-content: center;
  margin: 0 20px;
  font-size: 20px;
}

/* hours, minutes, secondsの数値のスタイル */
.time-num {
  font-size: 60px;
  line-height: 1;
}

/* 小さいデバイス用に文字サイズ & margin調整 */
@media screen and (max-width: 600px) {
  .countdown-title {
    font-size: 50px;
  }

  .new-year {
    font-size: 100px;
  }

  .time-wrap {
    margin-top: 10px;
  }

  .time {
    font-size: 12px;
    margin: 0 10px;
  }

  .time-num {
    font-size: 34px;
  }
}
// 要素を取得
const year = document.getElementById('year');
const days = document.getElementById('days');
const hours = document.getElementById('hours');
const minutes = document.getElementById('minutes');
const seconds = document.getElementById('seconds');
// 今年の値を取得
const currentYear = new Date().getFullYear();
// 来年の値を取得
const nextYear = currentYear + 1;
// 来年の1月1日00:00:00のDateオブジェクトを取得
const newYearTime = new Date(`January 01 ${nextYear} 00:00:00`);
// 来年の値をDOMに追加
year.innerText = nextYear;
// カウントダウンの関数
function updateCountdown() {
// 現在の時刻情報を取得する
const currentTime = new Date();
// 現在の時間と新年の時間の差を計算する(ミリ秒単位)
const diff = newYearTime - currentTime;
// 現在から新年までの日数を計算
const d = Math.floor(diff / 1000 / 60 / 60 / 24);
// 時間を計算
const h = Math.floor(diff / 1000 / 60 / 60) % 24;
// 分を計算
const m = Math.floor(diff / 1000 / 60) % 60;
// 秒を計算
const s = Math.floor(diff / 1000) % 60;
// 取得した時間をDOMに追加
days.innerText = d;
hours.innerText = h < 10 ? '0' + h : h;
minutes.innerText = m < 10 ? '0' + m : m;
seconds.innerText = s < 10 ? '0' + s : s;
}
// ページロード時に関数を実行
updateCountdown();
// 1秒ごとに関数を実行
setInterval(updateCountdown, 1000);新年カウントダウンタイマーの実装コードの解説
ここからは、実装コードの詳しい解説をしていきます。
HTML, CSS, JavaScriptを使用し、それぞれの役割は以下のとおりです。
- HTML…カウントダウンタイマーのタグを用意
- CSS…カウントダウンタイマーの見た目を装飾
- JavaScript…カウントダウンタイマーの機能を実装
それでは、まずはHTMLから見ていきましょう。
HTMLで新年カウントダウンタイマーのタグを用意する
<div class="container">
<div class="countdown">
<h1 class="countdown-title">Countdown to
<span id="year" class="new-year"></span>
</h1>
<div class="time-container">
<p class="time"><span id="days" class="time-num"></span>days</p>
<p class="time"><span id="hours" class="time-num"></span>hours</p>
<p class="time"><span id="minutes" class="time-num"></span>minutes</p>
<p class="time"><span id="seconds" class="time-num"></span>seconds</p>
</div>
</div>
</div>まずはcontainer でカウントダウンタイマー全体を囲います。
ここには背景画像やタイマーの位置を調節するCSSを記述します。
次に、countdownクラスのついたdivタグがありますが、この中にカウントダウンタイマーのすべての要素が入っています。
カウントダウンの中には、idを指定している箇所が5つありますね。
year…新年の年数を表示days…日数を表示hours…時間を表示minutes…分を表示seconds…秒を表示
それぞれの箇所には、JavaScriptで上記の内容を取得してテキストを挿入するので、この段階では空にしておきます。
CSSで新年カウントダウンタイマーの見た目を装飾する
/* Google Fonts 読み込み */
@import url('https://fonts.googleapis.com/css2?family=Dancing+Script:wght@700&family=Roboto:wght@700&family=Share+Tech+Mono&display=swap');
/* リセットCSS(簡易版) */
*, *::before, *::after {
padding: 0;
margin: 0;
}
/* 全体を囲うコンテナー&背景 */
.container {
position: relative;
background-image: url('bg.jpg');
background-repeat: no-repeat;
background-size: cover;
background-position: center center;
width: 100%;
min-height: 100vh;
display: flex;
align-items: center;
justify-content: center;
}
/* 背景画像と文字を区別させるためのオーバーレイ */
.countainer::before {
content: '';
position: absolute;
top: 0;
left: 0;
width: 100%;
height: 100%;
background-color: rgba(0, 0, 0, 0.3);
}
/* カウントダウンタイマー本体 */
.countdown {
position: relative;
color: #fff;
text-align: center;
}
/* タイトル */
.countdown-title {
font-family: 'Dancing Script', cursive;
font-size: 100px;
line-height: 1.2;
}
/* 年のテキスト */
.new-year {
display: block;
font-family: 'Roboto', sans-serif;
font-size: 200px;
font-weight: bold;
letter-spacing: 0.05em;
}
/* タイマー部分を囲うコンテナー */
.time-container {
display: flex;
justify-content: center;
margin-top: 20px;
}
/* hours, minutes, secondsの共通スタイル */
.time {
font-family: 'Share Tech Mono', monospace;
display: flex;
flex-direction: column;
align-items: center;
justify-content: center;
margin: 0 20px;
font-size: 20px;
}
/* hours, minutes, secondsの数値のスタイル */
.time-num {
font-size: 60px;
line-height: 1;
}
/* 小さいデバイス用に文字サイズ & margin調整 */
@media screen and (max-width: 600px) {
.countdown-title {
font-size: 50px;
}
.new-year {
font-size: 100px;
}
.time-wrap {
margin-top: 10px;
}
.time {
font-size: 12px;
margin: 0 10px;
}
.time-num {
font-size: 34px;
}
}続いてCSSの解説です。
- 全体を囲うコンテナーのスタイル
- カウントダウンタイマーのスタイル
この2つに分けて明していきますね。
1. カウントダウンタイマーを囲うコンテナーのスタイル
/* 全体を囲うコンテナー&背景 */
.container {
position: relative;
background-image: url('bg.jpg');
background-repeat: no-repeat;
background-size: cover;
background-position: center center;
width: 100%;
min-height: 100vh;
display: flex;
align-items: center;
justify-content: center;
}
/* 背景画像と文字を区別させるためのオーバーレイ */
.countainer::before {
content: '';
position: absolute;
top: 0;
left: 0;
width: 100%;
height: 100%;
background-color: rgba(0, 0, 0, 0.3);
}containerには、背景の設定とカウントダウンタイマーのポジション調節するためのスタイルを記述します。
まずはwidth: 100% min-height: 100vhを指定して、コンテナーを画面いっぱいに広げます。
続いて背景画像については、background-image: url('')の部分に任意の画像パスを指定してください。
画像を自身で探して使いたい場合は、UnsplashやPixabayなどのサイトがおすすめです。
DEMOと同じ画像を使いたい場合は以下のリンクからダウンロードできます。
city with fireworks during night time photo – Free Nature Image on Unsplash
カウントダウンタイマーの配置には、display: flexを使用します。
align-items: center justify-content: centerを合わせて指定することで、中の要素が中心に配置されますね。
これでカウントダウンタイマーが画面の中央にくるようになりました。
最後に、疑似要素::beforeで、背景画像の上にオーバーレイを重ねています。
.countainer::before {
content: '';
position: absolute;
top: 0;
left: 0;
width: 100%;
height: 100%;
background-color: rgba(0, 0, 0, 0.3);
}これは背景画像と文字が重なったときに、文字を見えやすくするための対処ですね。
背景画像を暗くし、文字を白にすることで、文字の輪郭をはっきりさせることができます。
background-color: rgba(0, 0, 0, 0.3);ここでは黒の透明度30%のオーバーレイを指定していますが、色や透明度を変えることもできるので、好みに合わせて調整してください。
2. カウントダウンタイマー本体のスタイル
/* カウントダウンタイマー本体 */
.countdown {
position: relative;
color: #fff;
text-align: center;
}
/* タイトル */
.countdown-title {
font-family: 'Dancing Script', cursive;
font-size: 100px;
line-height: 1.2;
}
/* 年のテキスト */
.new-year {
display: block;
font-family: 'Roboto', sans-serif;
font-size: 200px;
font-weight: bold;
letter-spacing: 0.05em;
}
/* タイマー部分を囲うコンテナー */
.time-container {
display: flex;
justify-content: center;
margin-top: 20px;
}
/* hours, minutes, secondsの共通スタイル */
.time {
font-family: 'Share Tech Mono', monospace;
display: flex;
flex-direction: column;
align-items: center;
justify-content: center;
margin: 0 20px;
font-size: 20px;
}
/* hours, minutes, secondsの数値のスタイル */
.time-num {
font-size: 60px;
line-height: 1;
}ここはほぼ文字のスタイルなので、重要な部分のみ説明しますね。
まずタイマー本体のcountdownクラスにposition: relativeを指定していますが、これがないと文字の上にオーバーレイがかかってしまいます。
オーバーレイは背景画像のみに被せたいので、この指定をしておきましょう。(z-index: 1でもOKです)
あとは、Google Fontsから読み込んだ3種類のフォントを使用しています。
以下に使用フォントを載せておきますが、自由に変えてお使いください。
最後に、簡単なレスポンシブ対応のCSSを記述しています。
@media screen and (max-width: 600px) {
/* 省略 */
}画面幅が600px以下のデバイスで見たときに、文字サイズやマージンを調整しています。
今回は最低限の調整のみなので、必要であれば付け足してください。
JavaScriptで新年カウントダウンタイマーの機能を実装する
// 要素を取得
const year = document.getElementById('year');
const days = document.getElementById('days');
const hours = document.getElementById('hours');
const minutes = document.getElementById('minutes');
const seconds = document.getElementById('seconds');

// 今年の値を取得
const currentYear = new Date().getFullYear();
// 来年の値を取得
const nextYear = currentYear + 1;
// 来年の1月1日00:00:00のDateオブジェクトを取得
const newYearTime = new Date(`January 01 ${nextYear} 00:00:00`);

// 来年の値をDOMに追加
year.innerText = nextYear;


// カウントダウンの関数
function updateCountdown() {
  // 現在の時刻情報を取得する
  const currentTime = new Date();
  // 現在の時間と新年の時間の差を計算する(ミリ秒単位)
  const diff = newYearTime - currentTime;

  // 現在から新年までの日数を計算
  const d = Math.floor(diff / 1000 / 60 / 60 / 24);
  // 時間を計算
  const h = Math.floor(diff / 1000 / 60 / 60) % 24;
  // 分を計算
  const m = Math.floor(diff / 1000 / 60) % 60;
  // 秒を計算
  const s = Math.floor(diff / 1000) % 60;

  // 取得した時間をDOMに追加
  days.innerText = d;
  hours.innerText = h < 10 ? '0' + h : h;
  minutes.innerText = m < 10 ? '0' + m : m;
  seconds.innerText = s < 10 ? '0' + s : s;
}

// ページロード時に関数を実行
updateCountdown();
// 1秒ごとに関数を実行
setInterval(updateCountdown, 1000);最後に、JavaScriptでカウントダウンタイマーの機能を作っていきます。
- 来年の1月1日0時0分0秒の時間データを取得
- 現在の時間と比較し、新年までの残り時間を表示
- 1秒ごとにタイマーを更新しカウントダウンする
機能の大まかな説明は以上です。
コード量が多いので、少しずつ分解して説明していきますね。
1. HTML要素を取得する
const year = document.getElementById('year');
const days = document.getElementById('days');
const hours = document.getElementById('hours');
const minutes = document.getElementById('minutes');
const seconds = document.getElementById('seconds');まずは、HTML内でidを指定した要素をすべて取得します。
これらの要素の中に、JavaScriptでテキストを挿入していきます。
2. 新年の値を取得する
// 今年の値を取得
const currentYear = new Date().getFullYear();
// 来年の値を取得
const nextYear = currentYear + 1;
// 来年の1月1日00:00:00のDateオブジェクトを取得
const newYearTime = new Date(`January 01 ${nextYear} 00:00:00`);

// 来年の値をDOMに追加
year.innerText = nextYear;まずはHTMLの#yearに新年の数値を挿入したいので、今年の年数 + 1で新年の年数を取得して、変数nextYearに格納します。
今年の年数は、以下のコードで取得できますね。
new Date().getFullYear();ここらへんは別記事で説明していますので、よかったら目を通してみてください。
新年の年数が取得できたら、innerTextでHTMLの#yearの部分に挿入します。
これでHTML上に新年の年数が表示されるようになりました。
const newYearTime = new Date(`January 01 ${nextYear} 00:00:00`);こちらの行では、新年の1月1日00:00:00の時間データを取得しています。
Dateオブジェクトは、引数を渡すことで指定した時間のデータを取得してくれますね。(詳しくは以下の記事を参照)
ここで取得した時間が、カウントダウンのゴールになります。
3. カウントダウンの関数を定義
function updateCountdown() {
  // 現在の時刻情報を取得する
  const currentTime = new Date();
  // 現在の時間と新年の時間の差を計算する(ミリ秒単位)
  const diff = newYearTime - currentTime;

  // 現在から新年までの日数を計算
  const d = Math.floor(diff / 1000 / 60 / 60 / 24);
  // 時間を計算
  const h = Math.floor(diff / 1000 / 60 / 60) % 24;
  // 分を計算
  const m = Math.floor(diff / 1000 / 60) % 60;
  // 秒を計算
  const s = Math.floor(diff / 1000) % 60;

  // 取得した時間をDOMに追加
  days.innerText = d;
  hours.innerText = h < 10 ? '0' + h : h;
  minutes.innerText = m < 10 ? '0' + m : m;
  seconds.innerText = s < 10 ? '0' + s : s;
}続いて、いちばん重要な部分であるカウントダウンの関数を作成していきましょう。
関数updateCountdownでは、以下の処理を行っています。
- 現在時刻から新年の1月1日00:00:00までの時間を計算する
- 新年までの時間をもとに、日・時・分・秒を計算する
- 取得した値をDOMに追加する
それぞれ順に解説していきます。
①現在時刻から新年の1月1日00:00:00までの時間を計算する
// 現在の時刻情報を取得する
const currentTime = new Date();
// 現在の時間と新年の時間の差を計算する(ミリ秒単位)
const diff = newYearTime - currentTime;
まずは、現在時刻から新年までの時間の差を求める必要がありますね。
Dateオブジェクトを使用して、現在の日付・時間データを取得します。
// 引数を指定しない場合、現在の時間データを取得する
const currentTime = new Date();
// 引数を指定した場合、指定した時間データを取得する
const newYearTime = new Date(`January 01 ${nextYear} 00:00:00`);Dateオブジェクトは、引数を指定しない場合は現在の時間データを返します。反対に指定した場合は指定した時間のデータを返しますね。
新年の時間データから現在の時間データを引くことで、現在時刻から新年までの時間を計算することができます。
const diff = newYearTime - currentTime;diffという変数に、新年までの残り時間を格納します。
この時、数値はミリ秒単位であることに注意してください。
// 2021/1/3 18:31に実行した結果
console.log(diff); // 31296491648
この場合だと、”残り31296491648ミリ秒で2022年になる”という意味になります。
このミリ秒単位の数値を使って、残り日数・時間を計算していきます。
②新年までの時間をもとに、日・時・分・秒を計算する
// 現在から新年までの日数を計算
const d = Math.floor(diff / 1000 / 60 / 60 / 24);
// 時間を計算
const h = Math.floor(diff / 1000 / 60 / 60) % 24;
// 分を計算
const m = Math.floor(diff / 1000 / 60) % 60;
// 秒を計算
const s = Math.floor(diff / 1000) % 60;
①で取得したミリ秒単位の時間を元に、日・時・分・秒を計算していきます。
まずは残り日数の計算から見ていきましょう。
const d = Math.floor(diff / 1000 / 60 / 60 / 24);まずは小数点以下を切り捨てるために、Math.floor()で全体を囲います。
次に秒数を割り出すために、diffを1000で割ります。
1秒 = 1000ミリ秒なので、この計算で秒数がわかりますね。
ミリ秒を秒単位に変換できたら、次は60秒 = 1分なので60で割って分に変換します。
さらに60分 = 1時間なので、60で割って時間に変換します。
最後に時間を24で割ることで、残りの日数が計算できますね。
const h = Math.floor(diff / 1000 / 60 / 60) % 24;次は時間を計算していきましょう。
まずは上と同じような計算をして、ミリ秒単位から時単位に変換します。
ここで考えるべきなのは、実際に時計に表示されるのは0~23時までですよね。
そのため、剰余演算子%を使用して24で割って余った数値のみを取得します。
これで、時間部分には0~23までの数値のみ設定されるようになりました!
// 分を計算
const m = Math.floor(diff / 1000 / 60) % 60;
// 秒を計算
const s = Math.floor(diff / 1000) % 60;
分と秒はどちらも0~59までの数値が入るので、上記の計算方法でそれぞれ取得することができます。
これで新年までの残り日数・時間・分・秒の数値を取得できました。
③取得した値をDOMに追加する
// 取得した時間をDOMに追加
days.innerText = d;
hours.innerText = h < 10 ? '0' + h : h;
minutes.innerText = m < 10 ? '0' + m : m;
seconds.innerText = s < 10 ? '0' + s : s;innerTextは、要素のテキスト部分を書き換えられるプロパティですね。それぞれの要素の中身は空にしてあるので、②で取得した数値をそのまま代入します。
また、デジタル時計のように、時間・分・秒は常に数値を2桁にするための処理を行っています。
これで数値が変わるたびにガタつくことがなくなりますね。
以上で、関数updateCountdownは完成です!
4. カウントダウンの関数を実行する
// ページロード時に関数を実行
updateCountdown();
// 1秒ごとに関数を実行
setInterval(updateCountdown, 1000);
最後に、定義した関数を呼び出してカウントダウンタイマーを機能させます。
updateCountdown();まずこの行では、ページロード時に関数を呼び出しています。
これでロード後すぐに画面上にカウントダウンが表示されるようになりますね。
ただしこのままだと、ページをロードした瞬間のみ関数が実行されるだけで、更新はされません。
毎秒カウントダウンされるようにしたいので、setIntervalを使用します。
setInterval(updateCountdown, 1000);引数に1000ミリ秒を指定して、updateCountdownが1秒毎に呼び出されるようにします。
これで毎秒カウントダウンタイマーが更新されるようになりました!
【まとめ】CSSとJavaScriptで新年カウントダウンタイマーを実装する方法
CSSとJavaScriptで新年カウントダウンタイマーを実装する方法を紹介しました。
この記事で、Dateオブジェクトで時間データを取得する方法や、setIntervalの使い方がわかったかと思います。
今回は新年までのカウントダウンタイマーを実装しましたが、カスタマイズすることで誕生日や記念日のカウントダウンも作ることができますので、是非試してみてください!

コメント